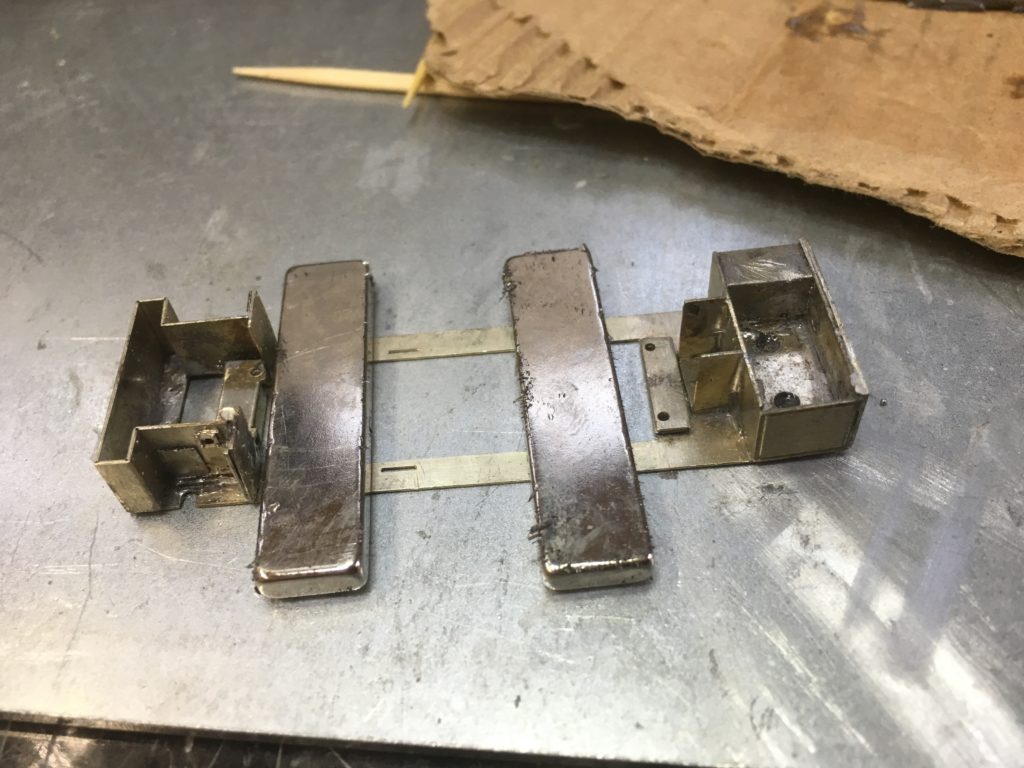
I recently bought a resistance soldering unit (RSU) to help me construct etched nickel silver and brass models. My first project is to build the RT Models 4mm scale 009 gauge Shotton Steel Works/SBR Hudswell Badger Loco body kit.
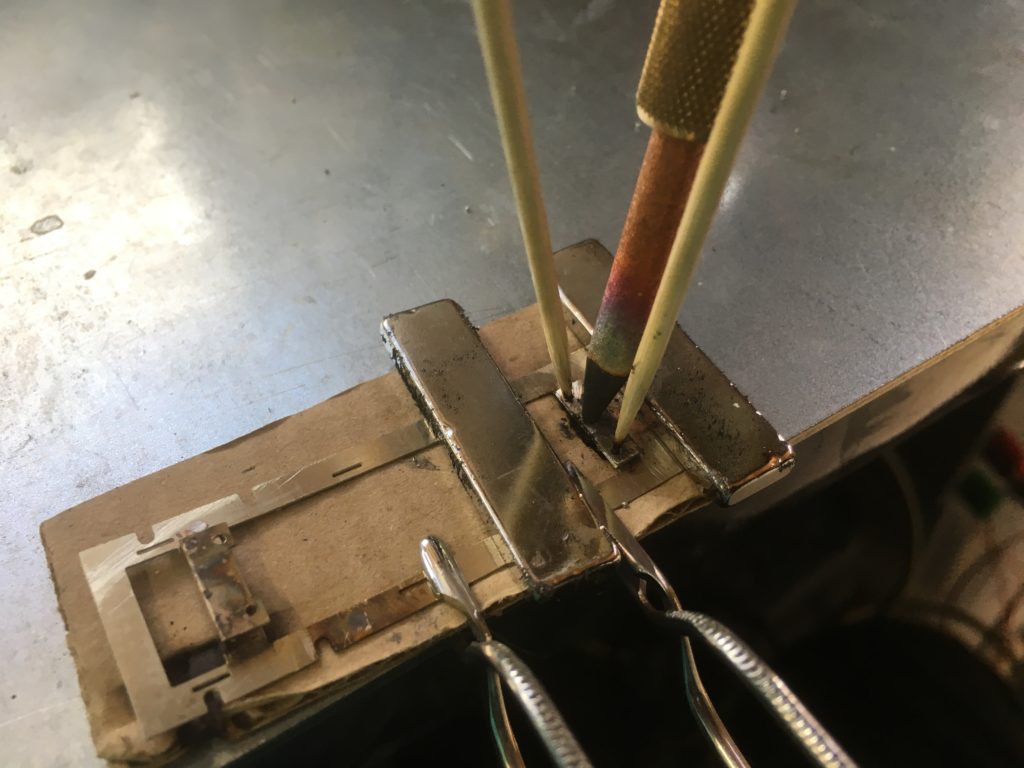
To make the ground connection for the RSU I use a piece of 2mm galvanised steel to which I connect the grounding clamp. I then use a thin piece of cardboard to thermally insulate the job from the steel and use hackle fishing pliers/clamps to electrical connect the job to the grounding plate, holding the job in place by the use of neodymium magnets. Cocktail sticks were used to align any holes in the pieces to be assembled. The job is pre-tinned using liquid flux and 0.6mm diameter lead solder balls, the piece to be fastened then being held in place by the RSU carbon electrode whilst the current is applied for a few seconds to remelt the solder to sweat the pieces together. The RSU electrode holds the component in place whilst the solder solidifies. This is far easier for me to do than trying to use a soldering iron. As the job progresses the need for the insulating cardboard will lessen because the model can be held to the galvanised steel plate by magnets if the part to be soldered is not in direct contact to the plate.
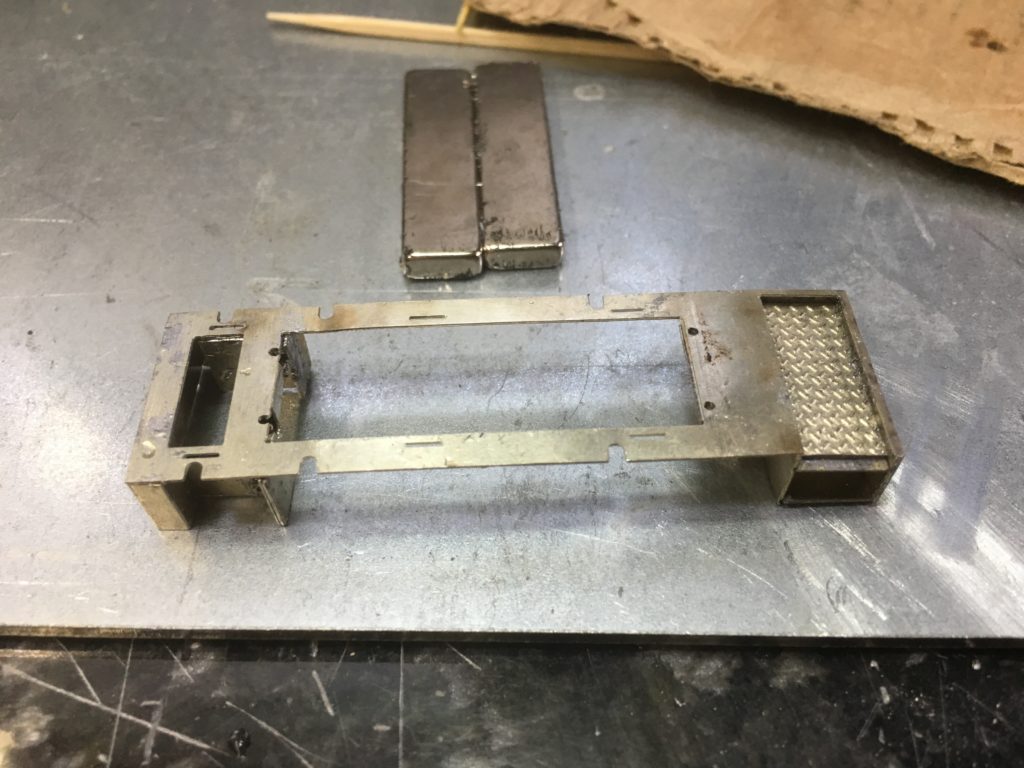
The components are then easily cleaned up using an ultrasonic bath of water and a fibreglass pencil ready for the next phase of the build.
Work on the chassis has continued and the basic chassis is now complete. The use of the RSU has made its construction far easier for me compared with using a soldering iron because the intense heating from the RSU electrode is confined to a very small area and the heating of adjacent areas by conduction is minimised by the short duration of the electrode being energised.